先来看下实例,这是我制作的月/季报模式,喜欢的话举个爪吧 ~~
瞧瞧去!
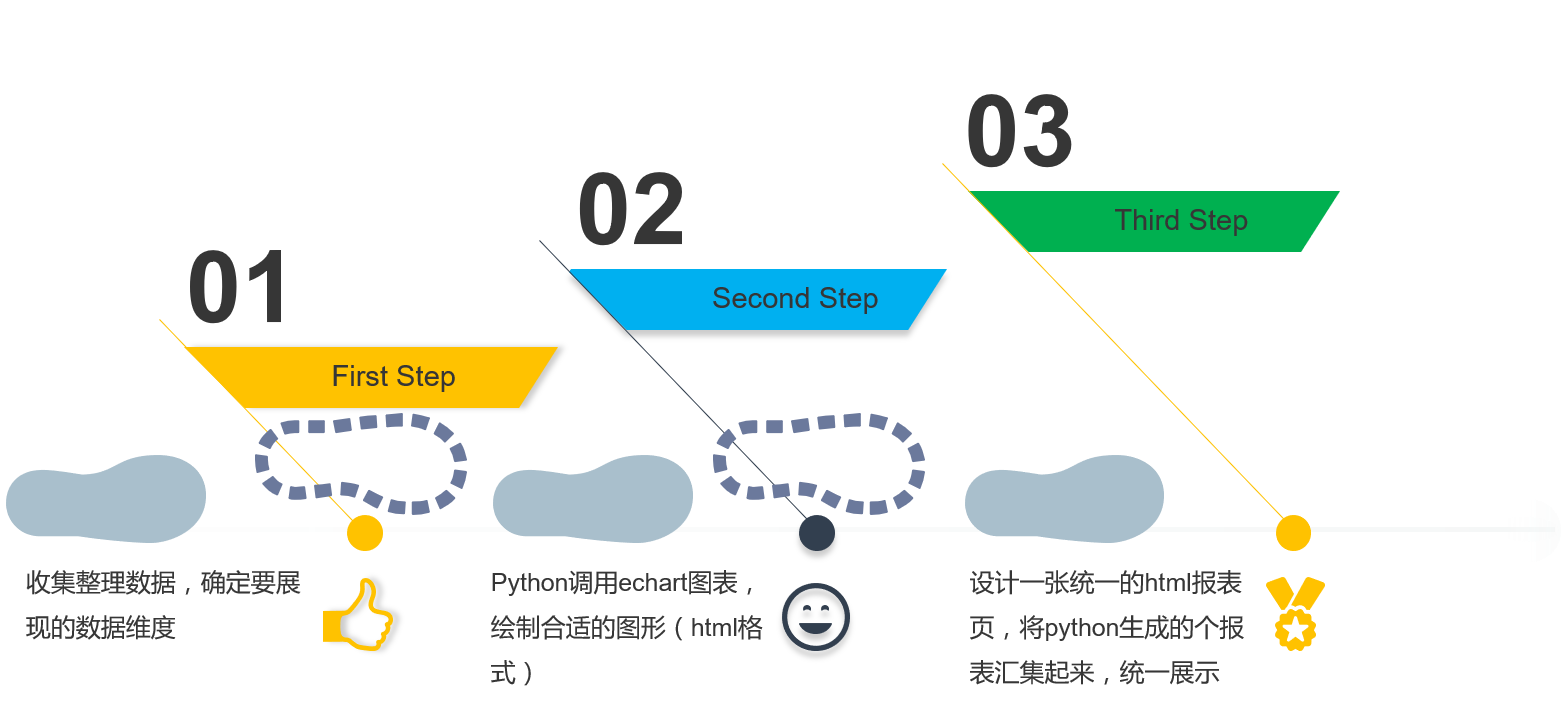
设计思路:
- 收集整理数据 -> 将数据转换为Python Echart图表 -> 设计Html报告页,将echart图标统一展示
这里重点还是Python Echart图表的使用上,废话不说,直接上步骤吧 -
- 安装python (这个不用我多说了吧 ~~)
- 安装python pip (这个一般在安装python时会一并安装的,pip类似于node.js的npm,是python的一个包安装器,有了它会省去我们安装python的不少麻烦,至少不用单独下载安装包)
- 安装echart (pip install pyechart)
- 调用echart图标(下面详细说说这个的用法)
Python Echart 使用详解
from pyecharts import Bar, Line, Grid, Overlap, EffectScatter, Pie

''' 1. *** 测试项目TCs 统计
>>  下图实例找齐了Pie, Bar, Line 图常用的修改参数,请参考
>>  下面各图表的参数设置,实际使用中并不是全部必须的,列在这里仅供参考
***'''
# from pyecharts import Bar, Line, Pie, Overlap, EffectScatter
attr1 = ['DEVDCMODULEMGT', 'GDS Service Portal AT', 'GDS运维管理', 'PPM Release1 AT', 'DCFM告警单验证AT', 'ECC集控中心', 'PPM Release2', 'CRS客户服务系统'] # 测试项目
val1 = [59, 1, 7, 4, 2, 276, 0, 0] # 各项目测试用例设计量pcs

pie = Pie("TC Outputs Statistic", "各项目测试用例统计", width = 1200, height = 500) # title_pos="center"
pie.add("TCs Output (单位:个)", attr1, val1,
        legend_pos="2%", #  legend_pos : 图例位置 right, center, left, bottom, or X%
        legend_top="25%",
        is_label_show=True,
        is_legend_show=True,
        is_more_utils=True,
        label_text_color=None, # 'red' or 'green', ....
        legend_orient='vertical', # legend_orient='vertical' or 'horizontal'
        radius=[30, 65], #环形内外圆的半径
        is_label_emphasis=True,
        legend_text_size=12,
        # width=1200, -- 这里定义width和height对整体图示不起作用,应该在调用图示对象时定义
        # height=600,
        # rosetype='radius', # 有'radius'和'area'两种模式, radius:扇区圆心角展现数据的百分比,半径展现数据的大小。 area:所有扇区圆心角相同,仅通过半径展现数据大小。
        center=[50, 52], # 饼图的中心(圆心)坐标,数组的第一项是横坐标,第二项是纵坐标,默认为 [50, 50]
        legend_selectedmode=True, # 对图例点选操作禁止或打开
)
pie.render("1_ResourceforRetro/render1.html")


''' 2. *** 测试项目effort 统计 ***'''
# from pyecharts import Bar, Line, Pie, Overlap
attr2 = ['DEVDCMODULEMGT', 'GDS Service Portal AT', 'GDS运维管理', 'PPM Release1 AT', 'DCFM告警单验证AT', 'ECC集控中心', 'PPM Release2', 'CRS客户服务系统']
val2= [72, 16, 8, 24, 32, 220, 0, 0] # unit:hours

bar = Bar("Test Effort Statistic", "各项目测试工时统计", width = 1200, height = 500)
bar.add("工时 (单位:小时)", attr2, val2, is_more_utils=True,
        is_label_show=True,
        legend_pos="right",
        legend_top="5%",
        width = 1200,
        height = 600,
        bar_category_gap="60%",
        mark_point=['max', 'min'], # or 'average'
        mark_line=['max'],
        is_datazoom_show=True,
        is_label_emphasis=True,
)
bar.render("1_ResourceforRetro/render2.html")


''' 3. *** 测试项目Bugs 统计 ***'''
# from pyecharts import Bar, Line, Pie, Overlap
attr3 = ['DEVDCMODULEMGT', 'GDS Service Portal AT', 'GDS运维管理', 'PPM Release1 AT', 'DCFM告警单验证AT', 'ECC集控中心', 'PPM Release2', 'CRS客户服务系统']
val3 = [28, 0, 3, 4, 0, 79, 0, 0] # unit: pcs

line = Line("Test Bug Statistic", "各项目测试bug统计", width = 1200, height = 500)
line.add("Bug (单位:个)", attr3, val3, is_more_utils=True,
         # is_label_show=True,
         # is_step=True,
         yaxis_name=u"Bug 个数",
         # xaxis_name="项目",
         # xaxis_margin=5,
         # xaxis_name_pos="80%",
         # is_radiusaxis_show=True,
         is_area_show= True,
         label_text_size=10,
         # label_color="#12F23",
         legend_pos="right",
         legend_top="5%",
         mark_point=['max', 'min', 'average'], # or 'average'
         mark_point_symbol='arrow', # or 'arrow'
         # mark_point_symbolsize=10,
         mark_point_textcolor='yellow',
         mark_line=['max'],
         mark_line_symbolsize=10,
         line_width=5,
         # line_type=5,
         line_color='green',
         area_opacity=0.8,
         line_opacity=0.4,
         symbol_size=3,
         # is_datazoom_show=True,
)

es = EffectScatter("", width = 1200, height = 500)
es.add("Bug statistic", attr3, val3,
       symbol_size= 20,
       effect_scale= 3.6,
       effect_period= 3,
       symbol= "pin",
       is_label_show= True,
       label_color="red"
)

bar1 = Bar("", width = 1000, height = 400)
bar1.add("", attr3, val3, is_label_show=True, bar_category_gap="40%")

overlap = Overlap("", width = 1200, height = 500)
overlap.add(line)
overlap.add(es)
# overlap.add(bar)
overlap.render("1_ResourceforRetro/render3.html")


"""
使用Grid()对象可以将python chart图并列编排,需要注意的是gird_left, right, height, width 参数的设置,由此引起的各chart图参数设置的调整,建议不要用百分比,这个容易引起显示错位
下图被注释的代码基本达到了希望的效果
"""
每一个图标的render语句会在当前脚本目录下生成一个该图标的html报告,如 - render(“1_ResourceforRetro/render3.html”),此路径可自定义,默认是当前脚本路径,报告格式是html,不可改成其他类型。
获得了需要的图表报告后,接下来就是要将这些报告统一汇总在一张自定义的html文件中,下面是我上面demo图例中的自定义的html文件,不喜勿喷 @@@
import os, sys
from Common_Functions_Consolidation import *

#1. create new path for retrosepective report and retrospective report will locate on the sme path with the scripts
# **********************************************************************************************************************************************************
scriptPath = os.getcwd()
reportFilePath = os.path.join(scriptPath, "retrospective_Report.html")


#2. Validate the folder ''htmlReport and see if it is being there already
# **********************************************************************************************************************************************************
print os.path.isdir("1_ResourceforRetro") # 文件夹名称是不分大小写的
if os.path.isdir("1_ResourceforRetro") == False:
    print "There is no folder of '1_ResourceforRetro' there, please ensure you got this folder first before running this script!"
    sys.exit()


#3. Define retrospective report form by python
# **********************************************************************************************************************************************************

reload(sys) # 这两句对字符一起可改变解析的字符编码风格
sys.setdefaultencoding("utf-8") # 这两句对字符一起可改变解析的字符编码风格

#3.1 define html header part of this report -
#  ----------------------------------------------------------------------------------------------------------------------------------------------------------------------------------------------------------
reportTitle = "测试线阶段工作汇总 - Apr. ~ Jul."
pythonWriteHtml_to_File_Part1(reportFilePath, reportTitle)


#3.2 define html body part which comes from 'htmlReport' of this report -
#  --------------------------------------------------------------------------------------------------------------------------------------
pythonWriteHtml_to_htmlReport(scriptPath, reportFilePath)


# #3.3 define html body part which comes from 'htmlReport_1' of this report -
# #  --------------------------------------------------------------------------------------------------------------------------------------
# anotherProjectName = "DCFM 告警单重构"
# addSecondProjectReport_Header(reportFilePath, anotherProjectName)
# addSecondProjectReport_Body(scriptPath, reportFilePath)
#

#4 define html ending part of this report -
#  --------------------------------------------------------------------------------------------------------------------------------------
python_WriteHtml_to_File_Part2(reportFilePath)
这是上面代码中引用的包(Common_Functions_Consolidation)的相关函数实现-
def pythonWriteHtml_to_File_Part1(reportFilePath, reportTitle):
# reportFilePath 是一个.html文件,这个文件通常由调用脚本生成
fo = open(reportFilePath, "w+") # 打开一个文件用于读写。如果该文件已存在则打开文件,并从开头开始编辑,即原有内容会被删除。如果该文件不存在,创建新文件。
# f.write("<!DOCTYPE html>\n")
# f.write("<h1>alan</h1>")
# f.close()
htmlText = """<!DOCTYPE html>
<html>
<head>
<meta charset="UTF-8">
<style type="text/css">
#header {
background-color:black;
color:white;
text-align:left;
padding:5px;
font-family:Gill Sans MT;
font-size:22px
}
#reportZone{
width:1550px;
<!--这个可以取消,不影响效果 -->
align:left;
padding:5px;
font-family:Gill Sans MT;
font-size:12px
}
.anotherProject{
background-color:black;
color:white;
text-align:left;
padding:5px;
font-family:Gill Sans MT;
font-size:20px
}
#footer {
background-color:black;
color:white;
font-family:Gill Sans MT;
font-size:9px
text-align:left;
padding:2px;
}
# for the animal text -
@keyframes blink{
0%{opacity: 1;}
50%{opacity: 1;}
50.01%{opacity: 0;}
100%{opacity: 0;}
}
@-webkit-keyframes blink {
0% { opacity: 1; }
50% { opacity: 1; }
50.01% { opacity: 0; }
100% { opacity: 0; }
}
@-moz-keyframes blink {
0% { opacity: 1; }
50% { opacity: 1; }
50.01% { opacity: 0; }
100% { opacity: 0; }
}
@-ms-keyframes blink {
0% { opacity: 1; }
50% { opacity: 1; }
50.01% { opacity: 0; }
100% { opacity: 0; }
}
@-o-keyframes blink {
0% { opacity: 1; }
50% { opacity: 1; }
50.01% { opacity: 0; }
100% { opacity: 0; }
}
.blink{
animation: blink .85s linear ease-in;
-webkit-animation: blink .75s ease-out infinite;
-moz-animation: blink .55s ease-out infinite;
-ms-animation: blink .65s ease-out infinite;
-o-animation: blink .45s ease-out infinite;
color: #F00;
font-size:18px;
}
</style>
</head>
<body>
<div id="header">
<h2><hr/>
"""
fo.write(htmlText)
fo.close()
fo = open(reportFilePath, "a") # 打开一个文件用于读写。如果该文件已存在,文件指针将会放在文件的结尾。文件打开时会是追加模式。如果该文件不存在,创建新文件用于读写。
fo.write(reportTitle)
htmlText = """<hr/></h2>
</div>
<div id="reportZone">
<br>
"""
fo.write(htmlText)
fo.close()
# ----------------------------------------------------------------------------------------------------------------------------------------------------------------------------------------------------------------------------------------------------------------------------------------------
# Purpose - 定义html的尾部div 代码部分
# Notice - 该文件夹和脚本是在同一目录下的
# Date - 2018. 06.16
# Author - Alan.yuan
# ----------------------------------------------------------------------------------------------------------------------------------------------------------------------------------------------------------------------------------------------------------------------------------------------
def python_WriteHtml_to_File_Part2(reportFilePath):
# reportFilePath 是一个.html文件,这个文件通常由调用脚本生成
fo = open(reportFilePath, 'a')
htmlText = """</div>
<div id="footer">
<p>  Copyright © GDS_TestCenter@163.com. All rights reserved. This consolidation based on our test outputs, and the datum come from Jira and Testlink, it's real and valid. Consolidated here, just want you know more about our Test line, sincerely hope the effort we contributed is indeed to relief you.</p>
</div>
</body>
</html>
"""
fo.write(htmlText)
fo.close()
# ----------------------------------------------------------------------------------------------------------------------------------------------------------------------------------------------------------------------------------------------------------------------------------------------
# Purpose - 检查文件夹是否存在,如果存在就移除里面所有的文件, 注意是移除里面所有的文件,不是文件夹;如果该文件夹不存在,则创建该文件夹
# Notice - 该文件夹和脚本是在同一目录下的
# Date - 2018. 06.16
# Author - Alan.yuan
# ----------------------------------------------------------------------------------------------------------------------------------------------------------------------------------------------------------------------------------------------------------------------------------------------
def checkFolder_and_RemoveAllFilesIncluded(folderName):
#该函数检当前脚本目录下是否有制定的folder,如果没有则创建该folder;如果有则进入该folder删除里面所有的文件(注意是文件,不是文件夹)
import os, sys
if os.path.exists(os.getcwd() + "\\" + folderName) == True: # folderName - 指的是第一个存储测试报告文件夹 “htmlReport”
for file_Name in os.listdir(os.getcwd() + "\\" + folderName): # os.listdir(os.getcwd() + "\htmlReport") - 该文件夹下包含的文件list
path_File = os.path.join(os.getcwd() + "\\" + folderName, file_Name)
if os.path.isfile(path_File):
os.remove(path_File)
else:
os.makedirs(os.getcwd() + "\\" + folderName)
# ----------------------------------------------------------------------------------------------------------------------------------------------------------------------------------------------------------------------------------------------------------------------------------------------
# Purpose - 添加视图到body区,主要是<image> ... </image> 部分代码
# Notice - 该文件夹和脚本是在同一目录下的
# Date - 2018. 06.16
# Author - Alan.yuan
# ----------------------------------------------------------------------------------------------------------------------------------------------------------------------------------------------------------------------------------------------------------------------------------------------
def pythonWriteHtml_to_htmlReport(scriptPath, reportFilePath, listVal, listUnit):
htmlTextB = """<iframe src=\""""
htmlTextE = """" marginheight="2px" marginwidth="2px" width="1200" height = "500" frameborder="0"></iframe><br/>"""
i = 0
dirs = os.listdir(scriptPath + "\\1_ResourceforRetro")
for dir in dirs:
if os.path.isfile(os.path.join(scriptPath + "\\1_ResourceforRetro", dir)):
fo = open(reportFilePath, "a")
fo.write("<h3> >>>截止目前,统计有 <span class=\"blink\" >%s </span>%s - </h3>"%(listVal[i], listUnit[i])) # listVal, listUnit元素个数必须和html 文件数相等,否则报溢出错误
# fo.write("<span style=\"border-color: green; border-width: 1px; border-style: solid; border-radius: 1px;\">")
fo.write(htmlTextB)
fo.write(".\\1_ResourceforRetro\\" + dir)
fo.write(htmlTextE)
fo.close()
i += 1
# ----------------------------------------------------------------------------------------------------------------------------------------------------------------------------------------------------------------------------------------------------------------------------------------------
# Purpose - 添加第二个项目的html代码,主要是展示项目名称的<div> ... </idiv> 部分代码
# Notice - 该文件夹和脚本是在同一目录下的
# Date - 2018. 06.16
# Author - Alan.yuan
# ----------------------------------------------------------------------------------------------------------------------------------------------------------------------------------------------------------------------------------------------------------------------------------------------
def addSecondProjectReport_Header(reportFilePath, anotherProjectName):
htmlHeard_2B = """<br/></div>
<!--Adding new project / task -->
<!--hr style = "height:0px; border:none; border-top:10px solid #55555;"/ -->
<hr style="height:0px;border:none;border-top:10px groove skyblue;" />
<div class = "anotherProject"><b>"""
htmlHeard_2E = """</b></div><div>"""
fo = open(reportFilePath, "a")
fo.write(htmlHeard_2B)
fo.write(anotherProjectName)
fo.write(htmlHeard_2E)
fo.close()
# ----------------------------------------------------------------------------------------------------------------------------------------------------------------------------------------------------------------------------------------------------------------------------------------------
# Purpose - 添加第二个项目的html代码,主要是图示的<image> ... </image> 部分代码
# Notice - 该文件夹和脚本是在同一目录下的
# Date - 2018. 06.16
# Author - Alan.yuan
# ----------------------------------------------------------------------------------------------------------------------------------------------------------------------------------------------------------------------------------------------------------------------------------------------
def addSecondProjectReport_Body(scriptPath, reportFilePath):
html2B = """<iframe src=\" """
html2E = """"marginheight="20px" marginwidth="50px" width="1450" height = "550" frameborder="0"></iframe><br/>"""
dirs = os.listdir(scriptPath + "\htmlReport_1")
for dir in dirs:
if os.path.isfile(os.path.join(scriptPath + "\htmlReport_1", dir)):
fo = open(reportFilePath, "a")
fo.write(html2B)
fo.write(".\htmlReport_1\\" + dir)
fo.write(html2E)
fo.close()